For a property to be considered to be “In Convey Condition” in the Property Preservation Industry, there cannot be any roof leaks.
Locating the cause of an active roof leak is not as difficult as some people make it out to be. Most leaks that are not caused by some type of storm damage (like missing shingles), usually occur because of deteriorated, missing or incorrectly installed roofing materials and/or flashing.
Before you can diagnose a roof leak, you must know what kind of evidence you are looking for. Typically, a leaking roof starts off without anyone even noticing. But over time, the ceiling or wall located directly below the leak will start to appear discolored. The discoloration from active water intrusion will look different from the general discoloration you might have seen in older houses or in homes where a heavy smoker lived. Left unattended, this minor discoloration will quickly turn into an entire section of drywall or plaster that will begin sagging, flaking off or even falling onto the ground.
The first step is to relate the area where the leak is showing on the inside of the house to same area on the top side of the roof. If you do not find anything obvious get a flashlight and climb into the attic. Lift up or spread the insulation and look around for wet spots or stains.
Once you find signs of moisture on the inside of the property, then go outside and inspect the section of the roof that is directly above that area as well as any sections that may be located “uphill” from it.
The leak in the roof is usually uphill from the spot on the ceiling or where you found the wet insulation.
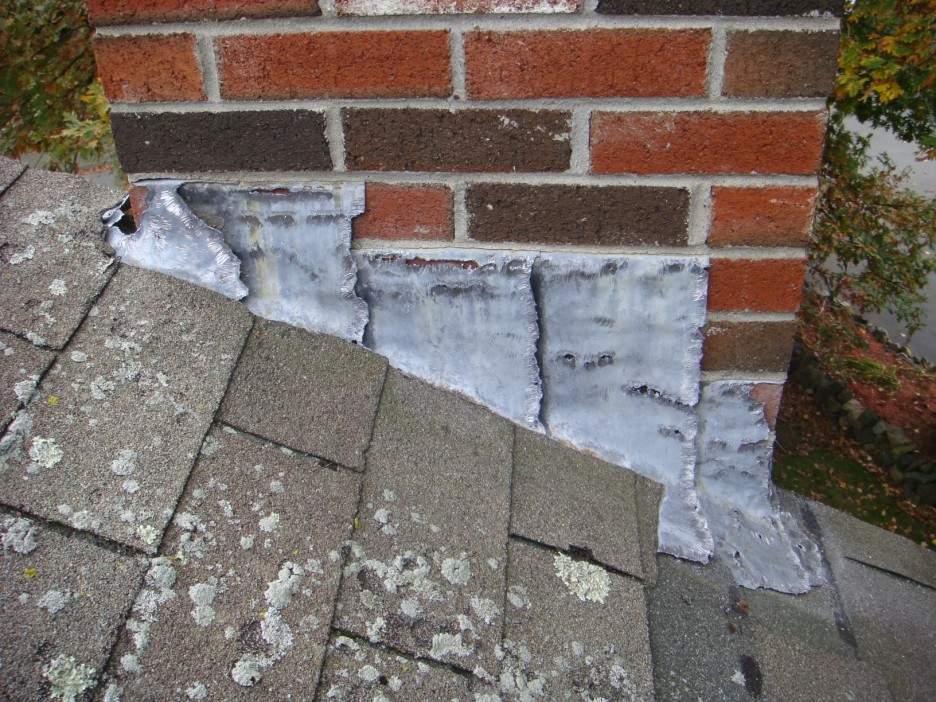
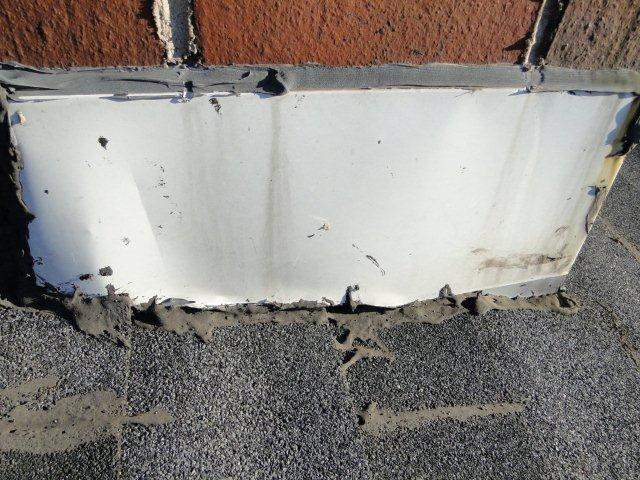
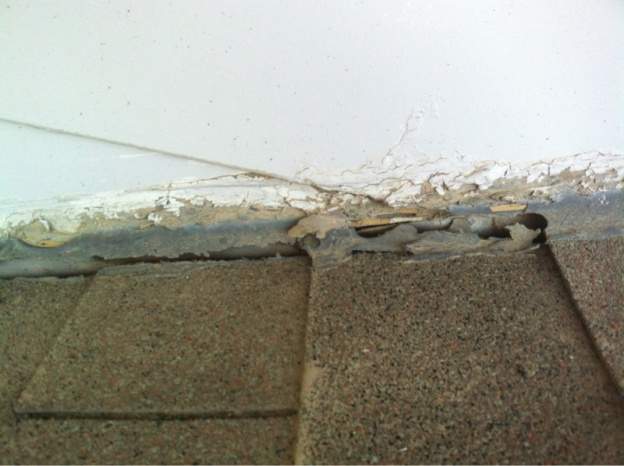
Look for areas where the siding is directly attached to the roofing, which can be found mainly around 2nd floor dormers. Also, look for any protrusions through the roof such as chimneys, pipe flashings, valleys, solar panels. Inspect these areas thoroughly, look for loose solder joints in flashings, deteriorated rubbers on plumbing pipe flashings.
Also check for broken and missing shingles. If a chimney is in this area check it for loose and missing bricks, cracked mortar joints and loose counter flashings. On a wood framed chimney check the metal cap for splits in seams and gaps in trim boards.
If you follow these few steps, you should be able to determine what the most likely cause of water intrusion is.